Create a blog application with django, part 3: create django admin site
Now that we have defined the Post model, we will create a simple administration site to manage your blog posts. Django comes with a built-in administration interface that is very useful for editing content. The Django admin site is built dynamically by reading your model metadata and providing a production-ready interface for editing content. The django.contrib.admin application is already included in the INSTALLED_APPS setting, so you don't need to add it.
Creating a superuser
First, we will need to create a user to manage the administration site. From the project's root directory, run the following command:
$ python manage.py createsuperuser
Enter your desired username, email, password and press enter. You’ll see the following output on the command line:
Username (leave blank to use 'admin'): admin
Email address: [email protected]
Password: ********
Password (again): ********
Superuser created successfully.
The Django Admin site
If the development server is not running start it with the following command:
$ python manage.py runserver
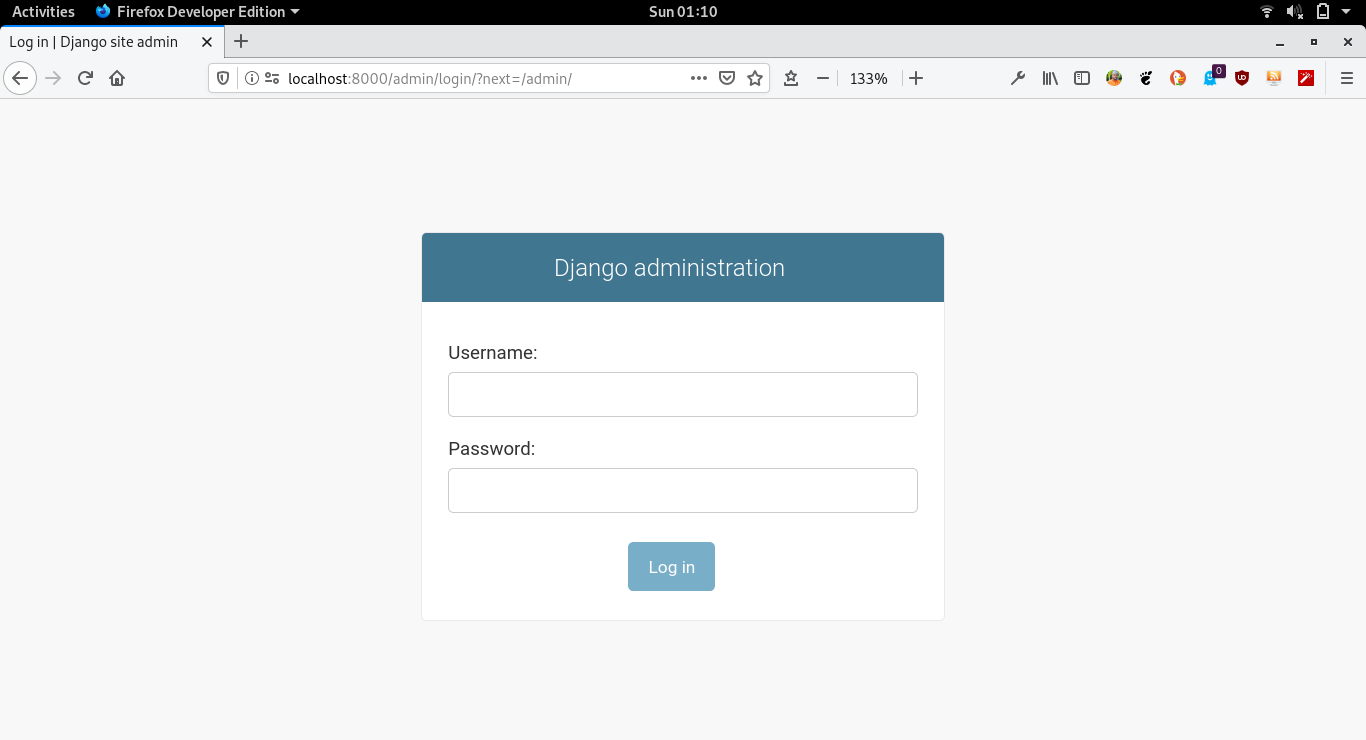
Visit http://127.0.0.1:8000/admin/ with your Web browser. You'll see the administration login page, as shown in the following screenshot:
Log in with the superuser account you created in the previous step. You'll see the Django admin site index page, as shown in the following screenshot:
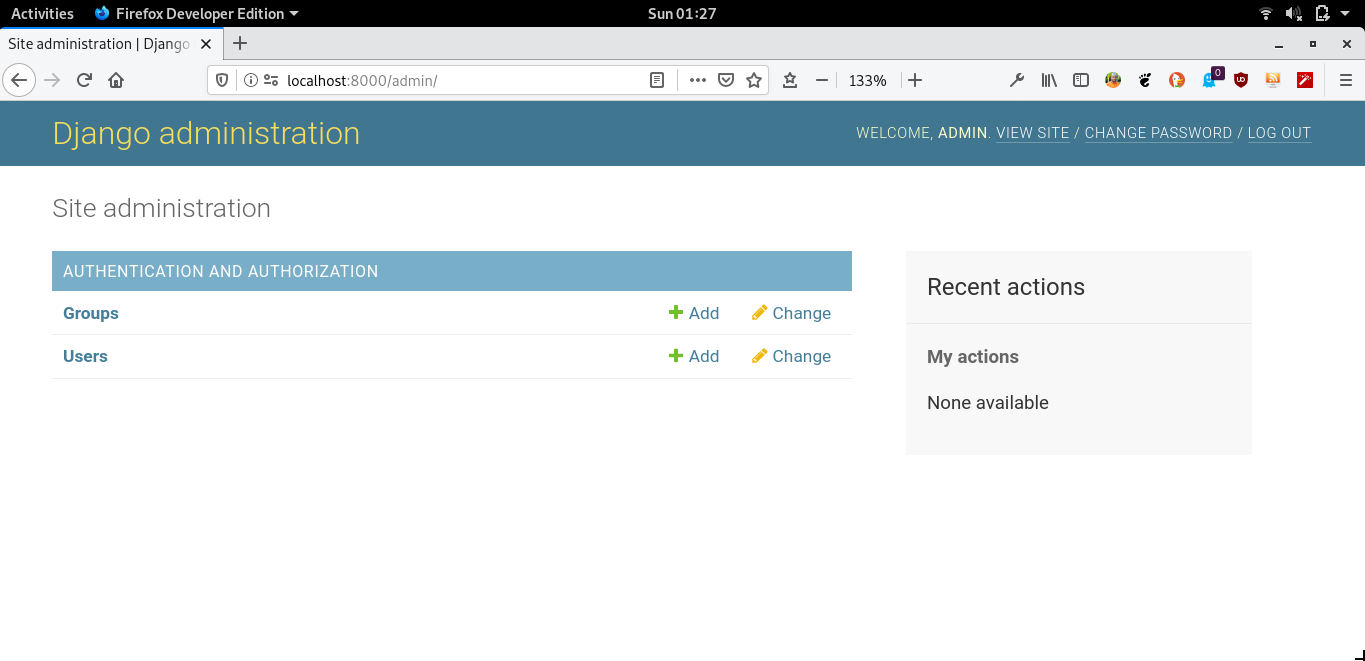
The Group and User models you see in the preceding screenshot are part of the Django authentication framework located in django.contrib.auth. If you click on Users, you will see the user you created previously. The Post model of your blog application has a relationship with this User model. Remember that it is a relationship defined by the author field.
Adding your models to the administration site
Let's add our blog models to the administration site. Edit the blog/admin.py file of your blog application and make it look like this:
# blog/admin.py

from django.contrib import admin
from .models import Post

admin.site.register(Post)
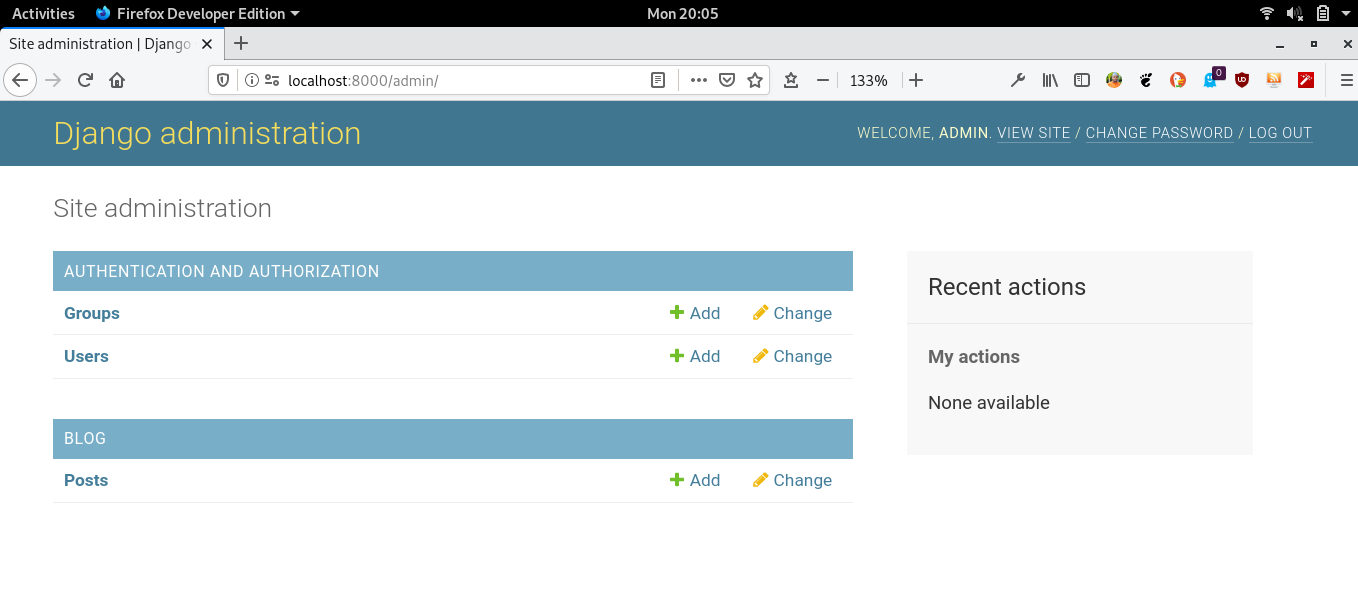
Reload the admin site in your browser. You should see your Post model on the admin site, as follows:
Click on the Add link beside Posts to add a new post. You will note the create form that Django has generated dynamically for your model, the admin site allows you to list, edit, create, and delete objects in a simple way.
Django uses different form widgets for each type of field. Even complex fields, such as DateTimeField, are displayed with an easy interface, such as a JavaScript date picker.
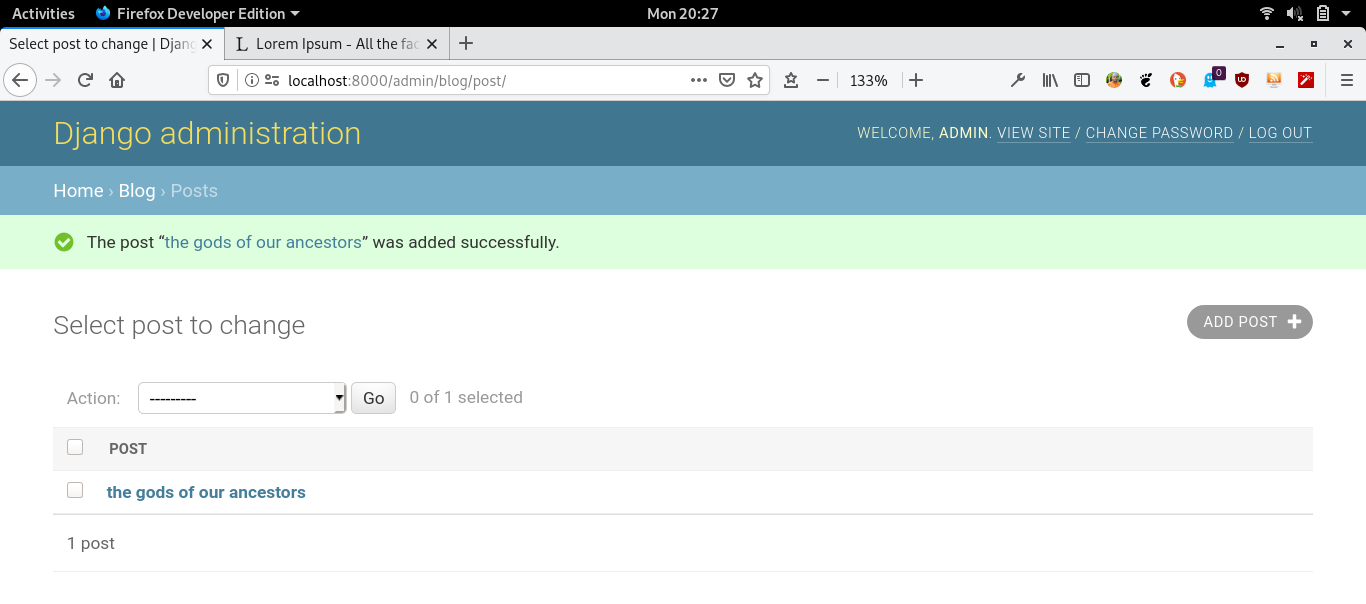
Fill in the form, and click on the SAVE button. You should be redirected to the post list page with a successful message and the post you just created, as shown in the following screenshot:
Note: You have to manually fill in the slug field, eg. this-is-my-title. Don't worry there is an automatic way of doing this by customizing the admin site.
Customizing the way models are displayed
Now, we will take a look at how to customize the admin site. Edit the blog/admin.py file and change it, as follows:
# blog/admin.py

from django.contrib import admin
from .models import Post

@admin.register(Post)
class PostAdmin(admin.ModelAdmin):
   list_display = ('title', 'slug', 'author', 'publish',
                   'status')
We are telling the Django admin site that our model is registered in the admin site using a custom class that inherits from ModelAdmin. In this class, we can include information about how to display the model in the admin site and how to interact with it. The list_display attribute allows you to set the fields of your model that you want to display in the admin object list page. The @admin.register() decorator performs the same function as the admin.site.register() function we have replaced, registering the ModelAdmin class that it decorates.
Let's customize the admin model with some more options, using the following code:
@admin.register(Post)
class PostAdmin(admin.ModelAdmin):
   list_display = ('title', 'slug', 'author', 'publish',
                      'status')
   list_filter = ('status', 'created', 'publish', 'author')
   search_fields = ('title', 'body')
   prepopulated_fields = {'slug': ('title',)}
   raw_id_fields = ('author',)
   date_hierarchy = 'publish'
   ordering = ('status', 'publish')
You can see that the fields displayed on the post list page are the ones you specified in the list_display attribute. The list page now includes a right sidebar that allows you to filter the results by the fields included in the list_filter attribute. A Search bar has appeared on the page. This is because we have defined a list of searchable fields using the search_fields attribute. Just below the Search bar, there are navigation links to navigate through a date hierarchy: this has been defined by the date_hierarchy attribute. You can also see that the posts are ordered by Status and Publish columns by default. We have specified the default order using the ordering attribute.
Now, click on the Add Post link. You will also note some changes here. As you type the title of a new post, the slug field is filled in automatically. We have told Django to prepopulate the slug field with the input of the title field using the prepopulated_fields attribute. Also, now, the author field is displayed with a lookup widget that can scale much better than a drop-down select input when you have thousands of users. There are plenty of ways to customize and extend the Django administration site. You can find more information here .
That's it for now. The next tutorial is to learn how to Work with Django QuerySet and managers.
If you like my content, please consider buying me a coffee.
Thank you for your support!
Related posts
- Master the Art of Handling Dates and Times in Django with Python’s datetime Module
- create a blog application with django, part 11: create django custom template tags and filters
- create a blog application with django, part 10: configure django to use postgreSQL
- create a blog application with django, part 9: create django rss feeds
- create a blog application with django, part 8: create django sitemap
- create a blog application with django, part 7: add pagination in django blog
- create a blog application with django, part 6: create django templates
- create a blog application with django, part 5: write django views
- create a blog application with django, part 4: django querysets and managers
- Create a blog application with django, part 2: create django models
- create a blog application with django, part 1: install django with pip