Create a blog application with django, part 7: add pagination in django blog
When you start adding content to your blog, you will soon realize you need to split the list of posts across several pages. Django has a built-in pagination class that allows you to manage paginated data easily.
Edit the views.py file of the blog application to import the Django paginator classes and modify the post_list view, as follows:
# blog/views.py

from django.core.paginator import (
   Paginator, EmptyPage,
   PageNotAnInteger
)

def post_list(request):
   object_list = Post.published.all()
   paginator = Paginator(object_list, 2) # 2 posts in each page
   page = request.GET.get('page')
   try:
       posts = paginator.page(page)
   except PageNotAnInteger:
       # If page is not an integer deliver the first page
       posts = paginator.page(1)
   except EmptyPage:
       # If page is out of range deliver last page of results
       posts = paginator.page(paginator.num_pages)
   return render(request,
                 'blog/post_list.html',
                 {'page': page,
                  'posts': posts})
This is how pagination works:
- We instantiate the Paginator class with the number of objects we want to display on each page.
- We get the page GET parameter that indicates the current page number.
- We obtain the objects for the desired page calling the page() method of Paginator.
- If the page parameter is not an integer, we retrieve the first page of results. If this parameter is a number higher than the last page of results, we will retrieve the last page.
- We pass the page number and retrieved objects to the template.
Now, we have to create a template to display the paginator so that it can be included in any template that uses pagination. In the templates/ folder of the blog application, create a new file and name it pagination.html. Add the following HTML code to the file:
<!-- blog/templates/pagination.html -->

<div class="pagination">
 <span class="step-links">
   {% if page.has_previous %}
     <a href="?page={{ page.previous_page_number }}">Previous</a>
   {% endif %}
   <span class="current">
     Page {{ page.number }} of {{ page.paginator.num_pages }}.
   </span>
     {% if page.has_next %}
       <a href="?page={{ page.next_page_number }}">Next</a>
     {% endif %}
 </span>
</div>
The pagination template expects a Page object in order to render previous and next links and to display the current page and total pages of results. Let's return to the blog/post_list.html template and include the pagination.html template at the bottom of the {% content %} block, as follows:
<!-- blog/templates/blog/post_list.html -->

{% block content %}
 ...
 {% include "pagination.html" with page=posts %}
{% endblock %}
Since the Page object we are passing to the template is called posts, we include the pagination template in the post list template, passing the parameters to render it correctly. You can follow this method to reuse your pagination template in paginated views of different models.
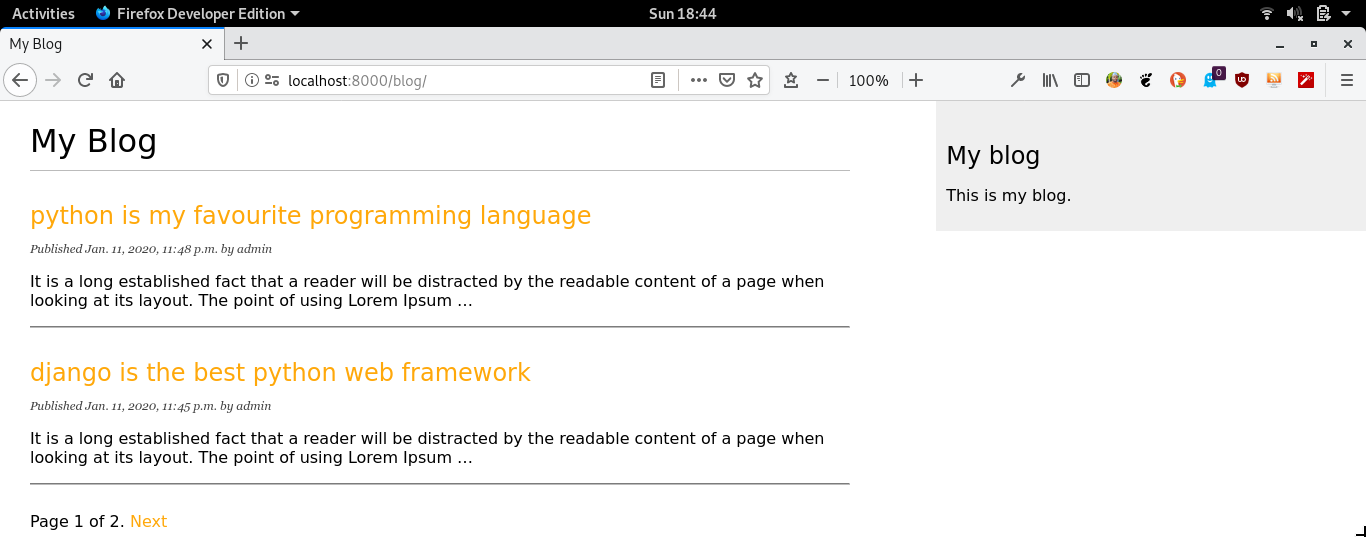
Now, visit http://127.0.0.1:8000/blog/ in your browser. You should see the pagination at the bottom of the post list and should be able to navigate through pages:
That's it for now. Hopefully, in the future, I'll be able to add more useful features to this blog application tutorial.
You can grab the source code of this tutorial - Github repo.
If you like my content, please consider buying me a coffee.
Thank you for your support!
Related posts
- Master the Art of Handling Dates and Times in Django with Python’s datetime Module
- create a blog application with django, part 11: create django custom template tags and filters
- create a blog application with django, part 10: configure django to use postgreSQL
- create a blog application with django, part 9: create django rss feeds
- create a blog application with django, part 8: create django sitemap
- create a blog application with django, part 6: create django templates
- create a blog application with django, part 5: write django views
- create a blog application with django, part 4: django querysets and managers
- create a blog application with django, part 3: create django admin site
- Create a blog application with django, part 2: create django models
- create a blog application with django, part 1: install django with pip