Create a blog application with django, part 1: install django with pip
Django is a Python web framework that can be used to build web applications. In this tutorial, you will learn how to build complete Django project, ready for production use. In case you haven't installed Django yet, you will learn how to do it in the first part of this tutorial. This tutorial covers how to create a simple blog application using Django. The purpose of this tutorial is to get a general idea of how the framework works, understand how the different components interact with each other, and provide you with the skills to easily create Django project with a basic functionality.
This tutorial will cover the following topics:
- Installing Django and creating your first project
- Designing models and generating model migrations
- Creating an administration site for your models
- Working with QuerySet and managers
- Building views, templates, and URLs
Installing Django
If you have already installed Django, you can skip this section and jump directly to the Create a Django project section. Django comes as a Python package and thus can be installed in any Python environment. If you haven't installed Django yet, the following is a quick guide to install Django for local development.
Note: Django 3.0 requires Python version 3.4 or higher. In this tutorial, we will use Python 3.7.3. If you're using Linux or MacOS X, you probably have Python installed. If you are using Windows, you can download a Python installer here .
If you are not sure whether Python is installed on your computer, open the Terminal app and type python
$ python
If you see something like the following, then Python is installed on your computer:
Python 3.7.3 (default, Jan  5 2020, 05:39:12)
[GCC 8.3.0] on linux
Type "help", "copyright", "credits" or "license" for more information.
>>>
if Python is not installed on your computer, then install it as follow:
On MacOS X, I suggest using Homebrew, it makes life easy. Don't forget to follow the instructions Brew suggests after installation. Install it here .
Open the Terminal app and run the following commands:
$ brew update
$ brew install python3
On Linux Ubuntu/Debian
$ sudo apt-get update
$ sudo apt install python3
$ sudo apt install python3-pip
Creating an isolated Python environment with Virtualenv
Whenever you are starting a new web development project, it’s a good idea to create an isolated Python environments. so that you can use different package versions for different projects. Another advantage of using virtualenv is that you won't need any administration privileges to install Python packages. Run the following command in your shell to install virtualenv:
$ sudo -H pip3 install virtualenv
After you install virtualenv, create an isolated environment with the following command:
$ virtualenv venv
This will create a venv/ directory, including your Python environment. Any Python libraries you install while your virtual environment is active will go into the venv/lib/python3.7/site-packages directory.
Run the following commands to activate your virtual environment:
$ source venv/bin/activate
The shell prompt will include the name of the active virtual environment enclosed in parentheses, as follows:
(venv) mypc:~$
You can deactivate your environment at any time with the deactivate command.
You can find more information about virtualenv here .
On top of virtualenv, you can use virtualenvwrapper. This tool provides wrappers that make it easier to create and manage your virtual environments. You can find more information about virtualenvwrapper here .
Installing Django with pip
Now that you’ve created a virtual environment, it’s time to install Django. Run the following command at the shell prompt to install Django with pip:
(venv) mypc:~/venv$ pip install Django==3.0.1
Django will be installed in the Python site-packages/ directory of your virtual environment.
Now, check whether Django has been successfully installed. Run python on a terminal, import Django, and check its version, as follows:
(venv) mypc:~/venv$ python

>>> import django

>>> django.get_version()

'3.0.1'
If you get the preceding output, Django has been successfully installed on your machine and you can now dive into creating the application.
Creating a Django Project
Our first Django project will be building a complete blog. Django provides a command that allows you to create an initial project file structure. Run the following command from your shell:
$ django-admin startproject mysite
Warning: Avoid naming projects after built-in Python or Django modules in order to avoid conflicts.
This will create a Django project with the name mysite. If you cd into this new directory you’ll see another directory called mysite and a file called manage.py.
Let's take a look at the project structure generated:
mysite/

 manage.py
    mysite/
      asgi.py
      __init__.py
      settings.py
      urls.py
      wsgi.py
These files are as follows:
- manage.py: This is a command-line utility used to interact with your project. It is a thin wrapper around the django-admin.py tool. You don't need to edit this file.
- mysite/: This is your project directory, which consists of the following files:
- asgi.py: This is the configuration to run your project as Asynchronous Server Gateway Interface (ASGI) application.
- __init__.py: An empty file that tells Python to treat the mysite directory as a Python module.
- settings.py: This indicates settings and configuration for your project and contains initial default settings.
- urls.py: This is the place where your URL patterns live. Each URL defined here is mapped to a view.
- wsgi.py: This is the configuration to run your project as a Web Server Gateway Interface (WSGI) application.
The generated settings.py file contains the project settings, including a basic configuration to use an SQLite 3 database and a list named INSTALLED_APPS, which contains common Django applications that are added to your project by default.
To complete the project setup, you'll need to create the tables in the database required by the applications listed in INSTALLED_APPS. Run the following command:
$ python manage.py migrate
You’ll see the following output on the command line:
Operations to perform:
Apply all migrations: admin, auth, contenttypes, sessions
Running migrations:
 Applying contenttypes.0001_initial... OK
 Applying auth.0001_initial... OK
 Applying admin.0001_initial... OK
 Applying admin.0002_logentry_remove_auto_add... OK
 Applying admin.0003_logentry_add_action_flag_choices... OK
 Applying contenttypes.0002_remove_content_type_name... OK
 Applying auth.0002_alter_permission_name_max_length... OK
 Applying auth.0003_alter_user_email_max_length... OK
 Applying auth.0004_alter_user_username_opts... OK
 Applying auth.0005_alter_user_last_login_null... OK
 Applying auth.0006_require_contenttypes_0002... OK
 Applying auth.0007_alter_validators_add_error_messages... OK
 Applying auth.0008_alter_user_username_max_length... OK
 Applying auth.0009_alter_user_last_name_max_length... OK
 Applying auth.0010_alter_group_name_max_length... OK
 Applying auth.0011_update_proxy_permissions... OK
 Applying sessions.0001_initial... OK
The preceding lines are the database migrations that are applied by Django. By applying migrations, the tables for the initial applications are created in the database.
Running the development server
Django comes with a lightweight web server to run your code quickly, without needing to spend time configuring a production server. When you run the Django development server, it keeps checking for changes in your code.
Run the following command:
$ python manage.py runserver
You’ll see the following output on the command line:
Watching for file changes with StatReloader
Performing system checks...

System check identified no issues (0 silenced).
January 01, 2020 - 15:48:46
Django version 3.0.1, using settings 'mysite.settings'
Starting development server at http://127.0.0.1:8000/
Quit the server with CONTROL-C
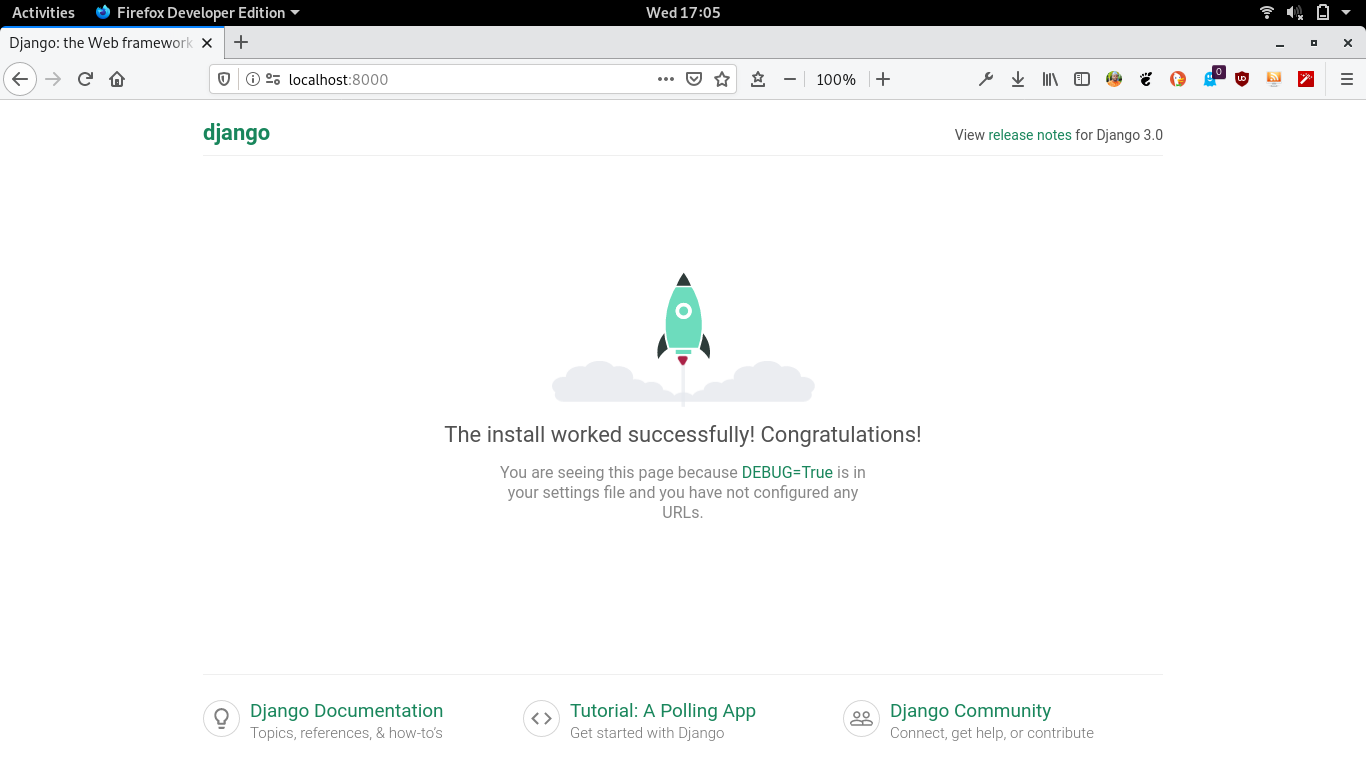
Now that the server is running, visit http://127.0.0.1:8000/ with your Web browser. You’ll see a “Congratulations!” page as shown in the following screenshot.
That's it for now. The next tutorial is to create Django models so that we can setup a database to our Django-powered blog application.
If you like my content, please consider buying me a coffee.
Thank you for your support!
Related posts
- Master the Art of Handling Dates and Times in Django with Python’s datetime Module
- create a blog application with django, part 11: create django custom template tags and filters
- create a blog application with django, part 10: configure django to use postgreSQL
- create a blog application with django, part 9: create django rss feeds
- create a blog application with django, part 8: create django sitemap
- create a blog application with django, part 7: add pagination in django blog
- create a blog application with django, part 6: create django templates
- create a blog application with django, part 5: write django views
- create a blog application with django, part 4: django querysets and managers
- create a blog application with django, part 3: create django admin site
- Create a blog application with django, part 2: create django models